I didn't want to just boil eggs and then have to eat them or let them go to waste so I blew about 2 dozen and ended up with about 14 eggs after some broke while being blown and other mishaps. But I had plenty to decorate, show and display after the activity.
I didn't just use the onion skin dye that I grew up with or nor did I have the red root available so I looked up good ways to dye Easter eggs naturally. I found that red cabbage dyes them blue and if you use shredded beets it turns lavender/reddish depending how long you leave the eggs in.
I made red and yellow onion skin solutions along with beet and red cabbage. Once the ingredients were in the pot, I boiled it for about 1/2 hour and then added the eggs and continued to boil for another 30 minutes. Then you check the colors and if you like what you see, take them out. If not, let the eggs sit in the solution until you get the desired color. How simple is that... Seriously the hardest part is wrapping the decoration around the eggs and wrapping them with string to hold it all in place.

Blown out eggs well the start of them

Red onion skin wrapped egg.

First egg I tried and it turned out perfectly, especially love that the center of the flower's color transferred on to the egg as well.
This egg was wrapped in red onion skins and then put into the shredded beet dye.
I loved how the green leaves left some of the green color on the egg.

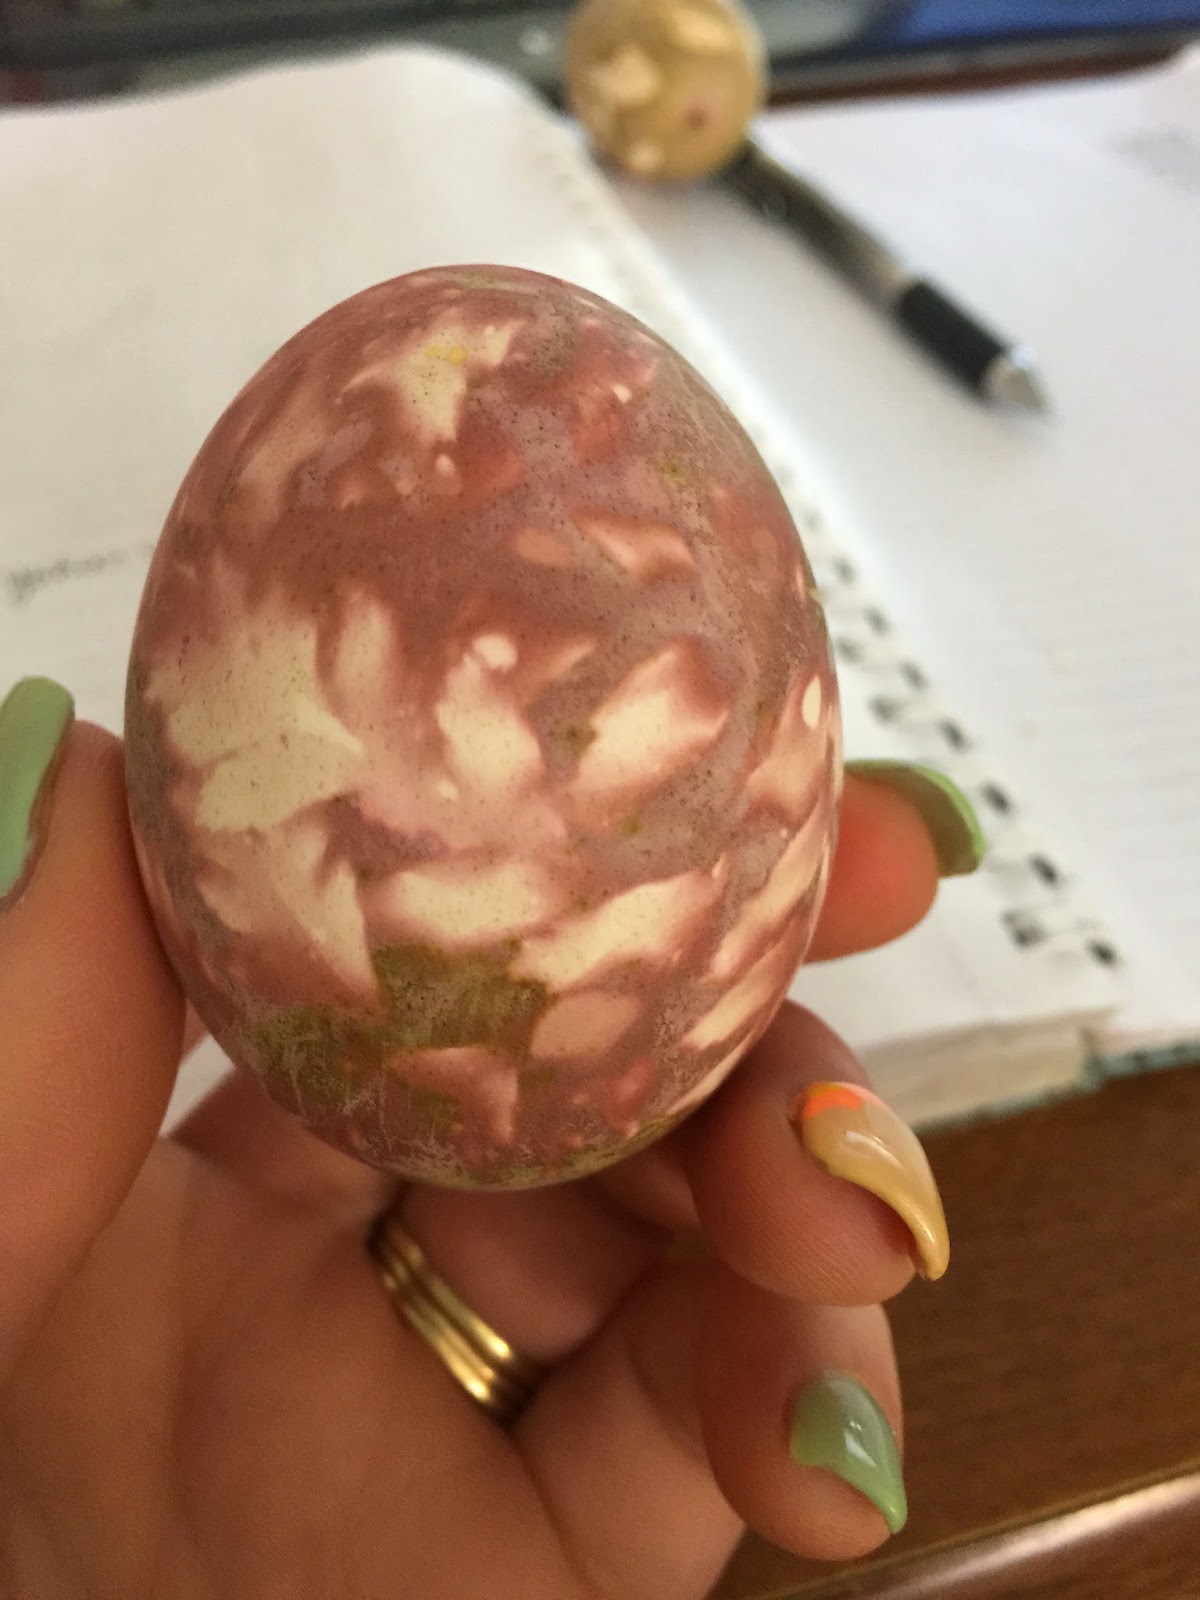
I really don't remember how I did this egg, which is too bad cause it is my favorite one. The coloring is spectacular. I know it was put in the beet solution but it turned brown so I tried a different solution and I think it was the beets again, but I am really not sure. I should have documented how each egg was done, but didn't think about it until it was way too late.

I didn't just use the basic white eggs, I also used the brown and green eggs that my hens lay for me. This was a brown egg put in beet solution wrapped in red onion skins. I call it my camouflaged egg.

This egg was dyed in red cabbage but I left it in the solution for about 8 hours.
This my second favorite egg. Simple but beautiful.

Plain brown egg dyed in beet solution. Simple but deep color. Love it....

Brown egg wrapped in leaves and yellow onion skins.

Red cabbage on green egg.


I truly am thankful that I was able to make these beautiful eggs and pass on the art of it all.
So many good things are being lost because of easier ways or store bought.
No comments:
Post a Comment